
Well...once again it has been waaaay too long since I've written a post. Now that it is in the middle of summer and 8 months has passed since my last post! Oh my...
Almost a year ago my best friend had a sweet baby boy. (I can't believe he will be 1 in August!!) I made that little bundle of joy a minky blanket based off a tutorial I found via Pinterest. So just in case you know someone who is about to have a baby, or maybe you just want a minky blanket, here are directions for the blanket I made.
Materials:
1 yard of cotton fabric (I used a print)
1 yard of minky fabric
thread
scissors
sewing machine (duh!)
Step 1: Make sure that you have cleared a big space so that you can lay your material flat to pin. Lay the minky fabric right side up. I used my kitchen table, but using a carpeted floor might work better so the fabric doesn't slide. Then, on top of the minky, place the cotton fabric wrong side up on top of the. (You will flip the blanket inside out once sewn, so make sure you sew the right sides together.)

(Minky right side up)

(Cotton fabric right side down-on top of the minky)

Step 2: Make sure fabric is lined up and pin all the way around.

(Fabric pinned-it is helpful if the minky is a bit bigger than the cotton)
Step 3: Begin sewing the fabric together. Make sure you remember to remove the pins as you go, you don't want to stitch over the pins! I did about 1/2 inch inseam. Sew all the way around the blanket, BUT make sure that you leave an opening so that you can flip the blanket to show the right sides. I believe that I left a two inch space-but it has been almost a year so can't exactly remember. HA!

Step 4: Flip the blanket right sides out. Iron the blanket, focusing on the edges. Make sure your iron is on a low setting. *Tip Before You Flip* Trip the corners of the blanket before you flip so it lays flatter.
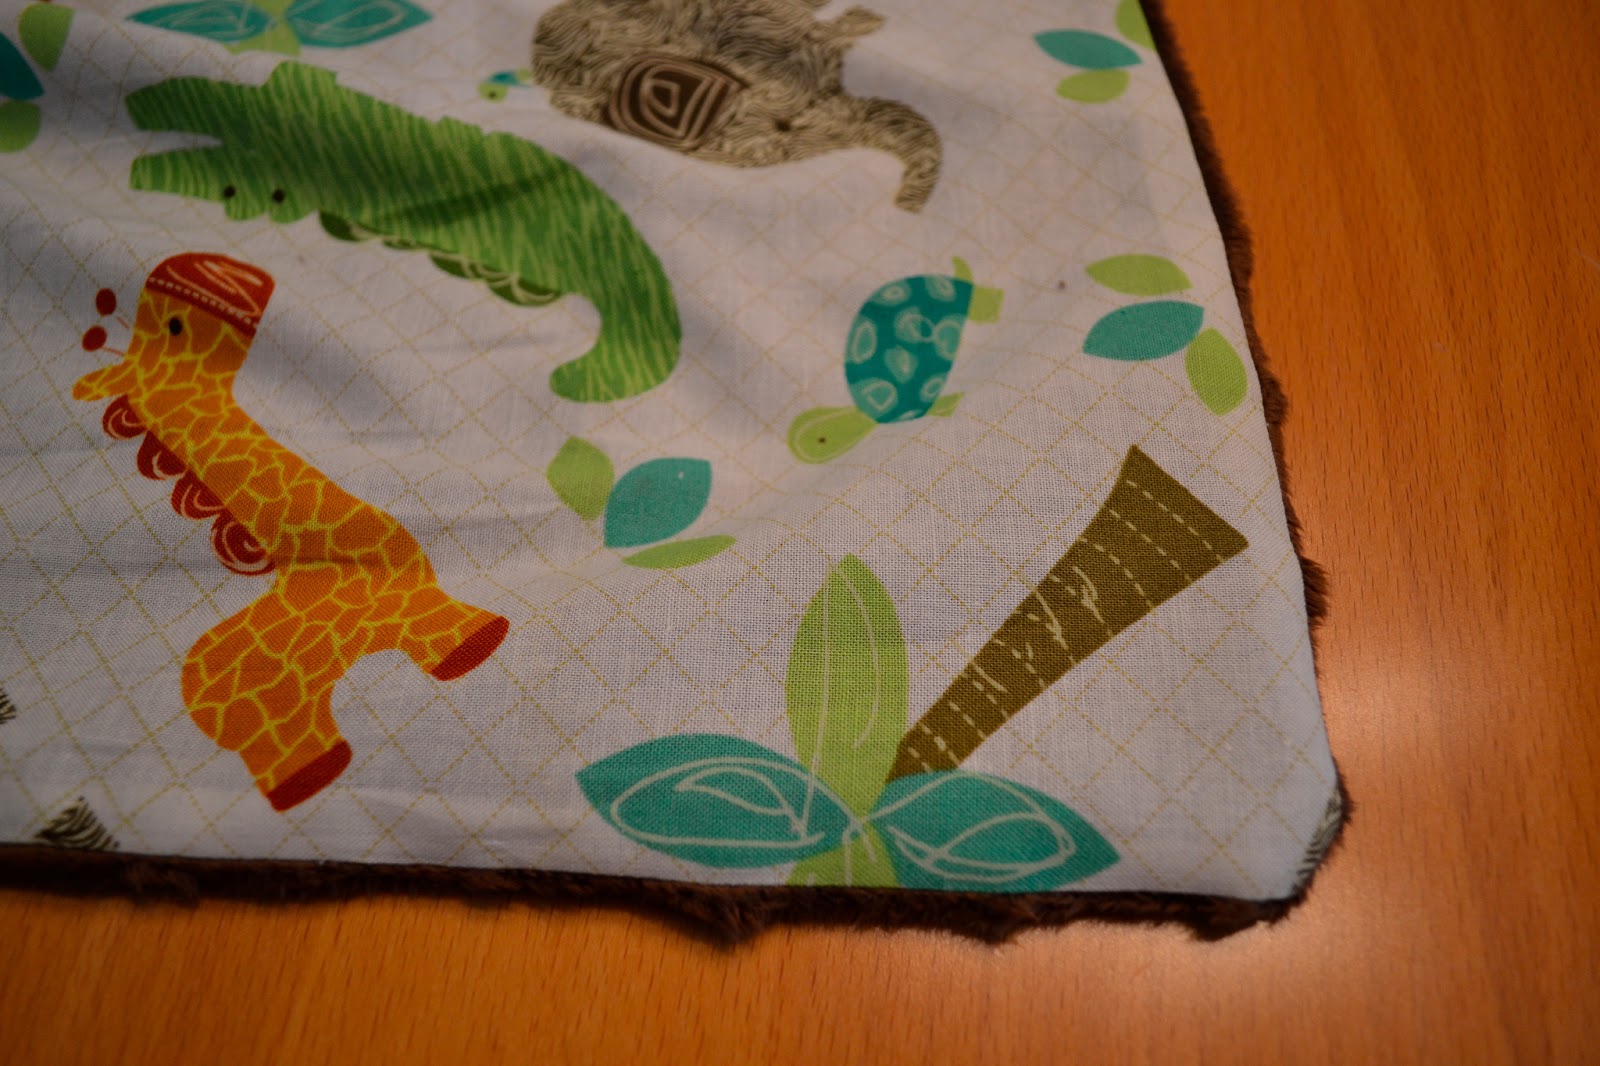
Step 5: Flip the raw edges under and pin. Then begin sewing along the edges. I lined the edges of the blanket up with the edge of the foot. This caught the gap I had left open and then I continued to sew along the edge of the entire blanket to give it a finished look.

(As you come to a corner, just turn the blanket and continue sewing.)

Here is the final product! It was super easy, and cheaper than buying a minky blanket from a boutique. If you didn't want to use a minky fabric you could use whatever super soft fabric you wanted. I think it turned out cute, though!

Good luck making your own blanket, let me know if you have any tips that you found when making your own! Those babes are going to love it!